How to Handle a Mic Drop Safely
The Main Requirements for Mic Drop Safety
Professional microphone protection is an indispensable condition for executing a controlled mic drop when singing karaoke. To ensure that the chances of damage are minimized, it is important to wear a variety of gadgets before throwing away that heavy component in anger.
Protective Accessories to Attach to Your Microphone
- Specially-made wind webs
- Polycarbonate shock caps
- High-density foam and non-slip gripping tape
- Silicone impact covers
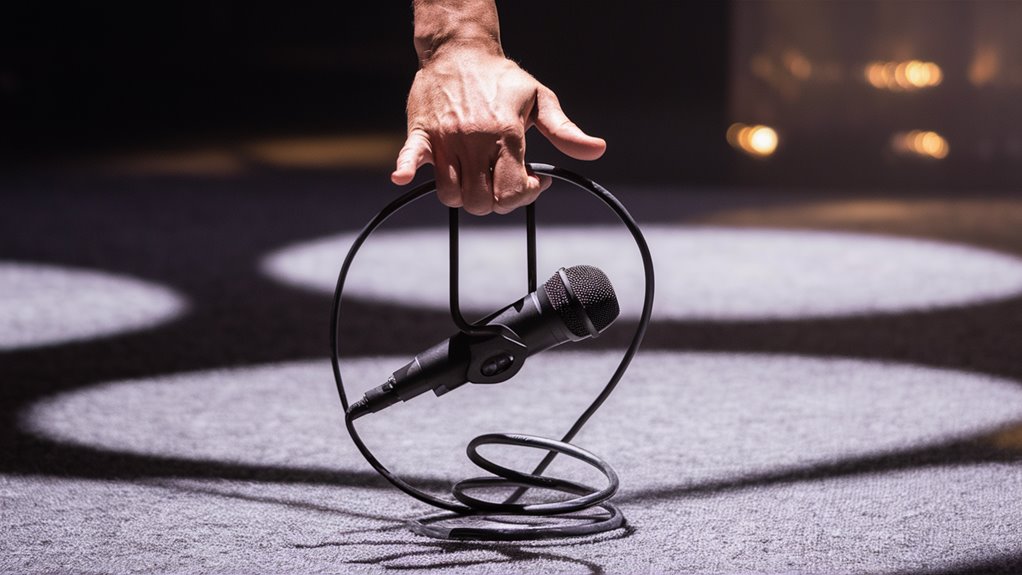
Proper Grip and Positioning
Employ the three-point grip technique by placing your two fingers and thumb about two inches below the microphone head. You need to stay flexible in your wrist location while retaining full control of all aspects of the microphone’s operation.
Means of Impact Protection
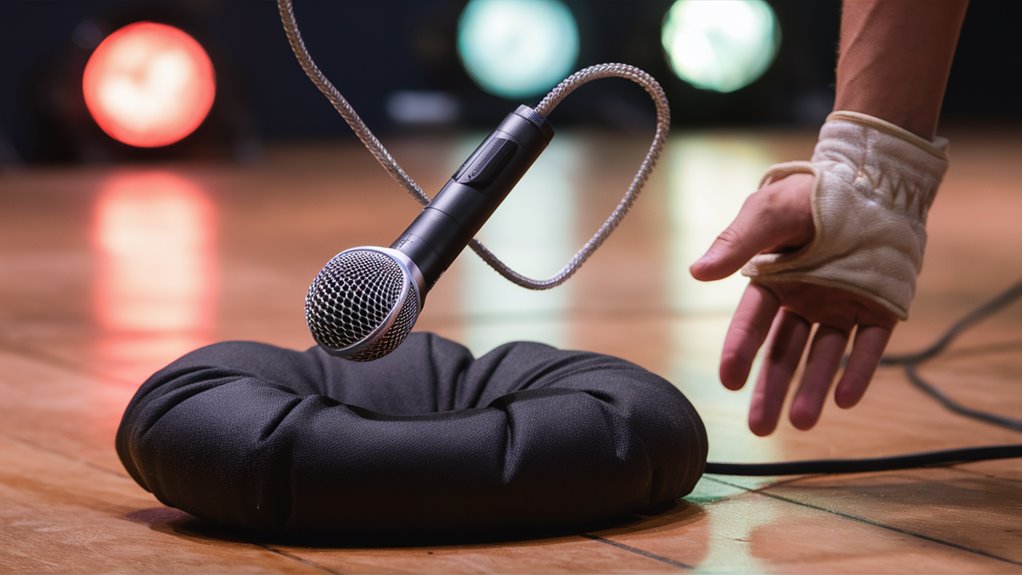
Create a safe place for the microphone to land by employing the following methods:
- Terry cloth towels folded in quarters
- Soft-pile carpet padding
- Absorptive materials
These items act together to spread out the 15-20 newtons of force employed in a single mic drop.
Essential Safety Measures
Before attempting to drop microphones dramatically at a venue, ensure you:
- Take explicit permission from the venue manager.
- Are equipped with all relevant protection.
- Pre-test the landing pad.
- Confirm the microphone’s strength through tests.
Each microphone drop requires protective equipment specific to the occasion or venue. You also need to have the venue’s permission before executing any mic drops safely.
Understanding the Physics of a Microphone Fall
The Science of Microphone Falls
A Mic Drop Is a Study in Applied Physics and Microphone Technology
Microphone drops generate complex dynamic forces capable of causing catastrophic equipment damage.
Load Force Levels and Microphone Breakdowns
At a height of around chest level (approximately four feet), a mic drop generates 15 to 20 newtons of impact force, which can cause extensive internal damage.
The shockwave transfers through the microphone body, potentially leading to:
- Disconnected soldered connections
- Fractured capsule diaphragms
- Destroyed internal structure
Critical Impact Orientations
Different angles and positions result in distinct damage patterns:
- Grille Impacts: The metal mesh absorbs initial force but transfers destructive vibrations to the capsule.
- Side Impacts: Housing seam breakages frequently occur.
- Bottom Impacts: XLR connectors and switch mechanisms can be severely damaged.
Limitations of Shock Mounts
Built-in shock mounts protect against minor vibrations but provide little defense against heavy impact.
Safe Landing Zones
Main Safe Landing Zone: On Padded Floors
For ideal carpet protection, strategic placement should be made near where you will be performing. The carpet should have a high-pile surface, at least 0.5 inches thick, to provide superior shock protection.
Pro Stand Solutions
For speed-dropping situations, foam cradles mounted to microphone stands offer the best solution.
Optimal Cradle Angle
- 45-degree positioning prevents unwanted movement while ensuring secure placement.
- Minimum of 2mm thick foam protects against vibration and structural damage.
Alternative Protection Methods
For an emergency landing, if no foam-top table is available, use a terry cloth towel folded into quarters on a stable surface.
Additional Considerations
- Keep a three-foot safety distance from liquids.
- Position the microphone close to the performance area for quick retrieval.
How to Properly Hold a Microphone
Mastering the Microphone Grip
Professional Three-Point Grip
The three-point grip system stabilizes control and minimizes handling noise.
Optimal Hand Positioning
- Position your hand several inches below the microphone head.
- Keep the microphone far enough to avoid low-frequency bass vibration while still allowing natural sound.
- Maintain a firm but flexible grip for stability.
Dynamic Movement and Cable Management
- Lyrics at Karaoke: Slightly wind up the cord and hook your index finger around it to ensure safety.
- For wireless microphones: Maintain a light grip to allow freedom of movement.
Wireless Vs. Wired Microphone Considerations
Signal Quality
- Wireless microphones use VHF or UHF frequencies, with UHF offering better interference resistance.
- Wired microphones provide clearer audio with an XLR connection and consistent signal quality.
Performance Mobility Trade-Off
- Wireless microphones: Allow free movement but require battery management.
- Wired microphones: Offer stable audio but restrict movement and require careful cable management.
Setting Up Wireless Systems
- Frequency coordination to avoid interference
- Battery monitoring and emergency power supply
- Checking radiated signal strength in different areas
Protective Accessories and Equipment
Essential Mic Protection Equipment Guide
- High-quality foam windshields: Prevent moisture and reduce plosive sounds.
- Durable microphone holders: Prevent accidental falls.
Convenient Transportation and Storage
- Heavy-duty cases with custom foam padding for maximum protection.
- Silicone microphone baskets to safeguard against impact damage.
Cable Organization and Interfacing
- Velcro straps for tidy cable management
- Reinforced XLR connections with heat-shrink tubing
- Backup power supply for wireless microphones
Performance Enhancement
Professional Performance Tools
- Microphone flags and identification rings for easy recognition.
- Non-slip grip tape for secure handling.
Advanced Protective Accessories
- Shatter-resistant casings
- Moisture-resistant barriers
- Shock-mounted systems
- Quick-release security locks
Courtesy and Licenses for Venues
Venue Etiquette and Permissions
Essential Venue Protocols
Before performing karaoke, obtain permission from the venue manager.
Venue Liability Considerations
Many karaoke venues require formal agreements regarding equipment use. These policies typically include:
- Liability waivers for microphone damage
- Insurance coverage details
- Rules on handling venue-owned microphones
Proper Mic Drop Execution in Licensed Venues
- Confirm whether mic drops are allowed before attempting them.
- Follow venue-specific safety protocols for handling equipment.
By following these mic drop safety measures and microphone handling techniques, you can ensure both a memorable performance and the longevity of the equipment!