Getting Clear Sound: Tips on Mic Placement and EQ
Key Ways to Position Your Mic
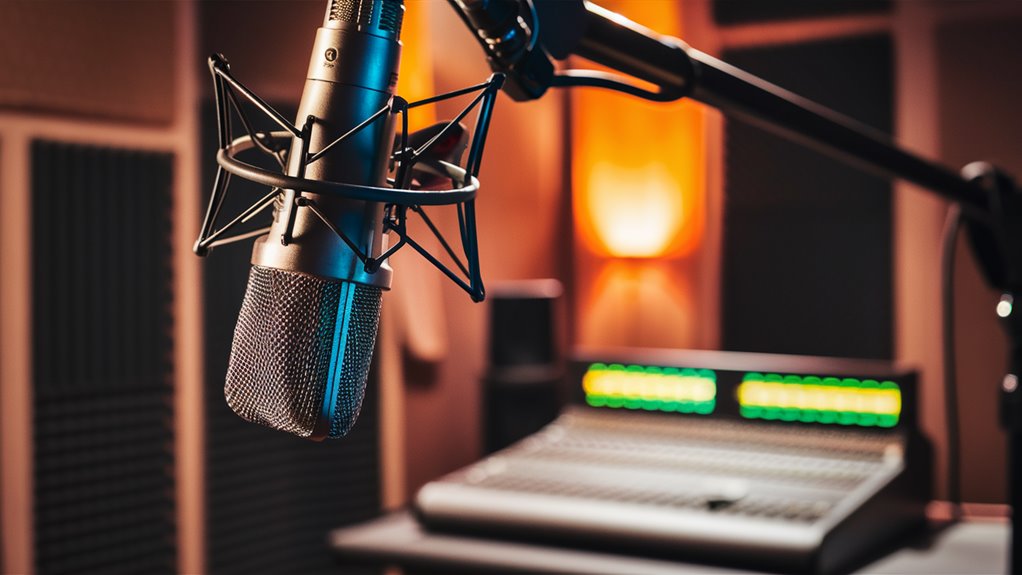
Putting the mic right is key to clean audio. Pick the right mic direction for what you need to record:
- Cardioid pattern for clear source sound 호치민 밤문화 팁 더 보기
- Omnidirectional pattern for real room sound
Set up vocals just right by keeping 6-8 inches from the mic at a 45-degree angle. This helps sound stay clear and uses the near sound effect to boost low tones naturally.
Smart Use of EQ
Fixing Sound with Frequencies
Be sharp with your EQ by cutting tight, not just boosting wide:
- Hit 200-300Hz to kill muddy sounds
- Cut 4-6kHz to ease sharp sounds
- Use high-pass filters under 100Hz to drop unwanted low noise
Pro Sound Checks
Get audio right by:
- Checking on several speakers
- Watching how the sound lines up
- Testing with tracks you know
Better Sound Fixes
Mix these key ways:
- Sharp mic skills
- Smart EQ
- Tight sound checks
These pro steps make for top broadcast sound and great studio tracks.
Know Your Mic’s Sound Directions
Full Guide on Mic Sound Directions
Basic Mic Directions
Mic directions shape how mics hear sound from all sides, changing how recordings turn out.
These sound ways are huge in pro sound work and cutting out noise.
Key Mic Patterns
Cardioid Pattern
Cardioid mics are great for single-source recording, most sensitive in front and block back noise. This heart-like pickup is key for:
- Voice tracks
- Live shows
- Podcast making
- Single instrument cuts
Omnidirectional Pattern
All-side mics catch sound from every way, giving:
- Real room sound
- Full sound details
- Music group recordings
Figure-8 Pattern
Two-way mics catch sounds from both front and back, good for:
- Side-by-side stereo recording
- Interviews for two
- Two sound sources
- Managing room sound
Using Sound Ways Right
Pro recording places use these mic ways well.
Heart-style patterns keep room echoes low, while all-around patterns pick up space sounds critical for full audio feeling.
Figure-8 patterns let pros use advanced stereo ways and exact sound direction control.
Picking the Best Sound Way
Choose based on:
- Room sound
- Need for sound alone
- Room noise
- Tech recording goals
The Close Sound Effect
What is the Close Sound Effect in Recording?
The Close Sound Effect Explored
Directional mics show a clear boost in low tone when sound gets close, known as the close sound effect.
This sound act is clear within 6 inches of the mic, possibly boosting low tones by 16dB at the closest.
Pro Uses of Close Sound
Smart mic spots let pros use the close sound effect in different recording cases:
- Voice Recording: Place mics 6-8 inches away for a warm tone
- Acoustic Guitar: Keep 12-18 inches away to stop low-end build-up
- Bass Boost: Close-mic thin sources for a natural rich bottom
Handling the Close Sound Effect
Ways to manage unwanted close sound:
- Use a high-pass filter
- Cut off frequencies under 100Hz
- Increase mic-to-source distance
- Use all-side mics for steady low-tone sound
For key recordings, all-side mics are top as they don’t show the close sound effect, making sure even tone no matter the distance.
This feature fits well for needs needing exact low-tone sound.
Room Sound Matters
Guide to Pro Room Sound for Recording
Basics of Room Sound
Sound moves in recording spaces greatly change audio quality.
Hard spots make unwanted echoes that color and muddy tracks, while room shapes, still waves, and quick echoes bring phase issues and frequency piles that lower pro outcomes.
Testing Room Sound
Hand clap tests help spot bad echoes in your recording space. Listen for ringing sounds, quick echoes, and room tones.
First sound bounce spots need care – these key places where sound first bounces before hitting your mic spot can make or break track quality.
Advanced Room Sound Fixes
Set up sound soak panels by finding reflection points with the mirror way: move a mirror along walls till you see the mic spot from where you sit.
For rooms without treatment, place mics close to sound sources and use sound shields or gobos. Smart mic spots away from room corners and flat walls help keep low sound piles and still waves low.
Best Ways to Place Your Mic
- Close-miking for untreated rooms
- Sound shield use for cutting noise
- Keep away from corners and walls
- Smart sound soak panel spots
- Think about room shape in mic place
Must-Know Mic Placement Ways

Basics of Pro Recording
The base of pro sound recording rests on right mic placement that maxes signal quality while cutting unwanted room sound. These ways make sure top sound capture in different recording cases.
Voice Recording Ways
Best voice mic place needs putting the mic 6-8 inches from the source, a bit above mouth level and angled down at a 45-degree angle.
This smart place cuts plosives while catching the full sound range. A pop filter should be set 2-3 inches from the mic for cleaner tracks.
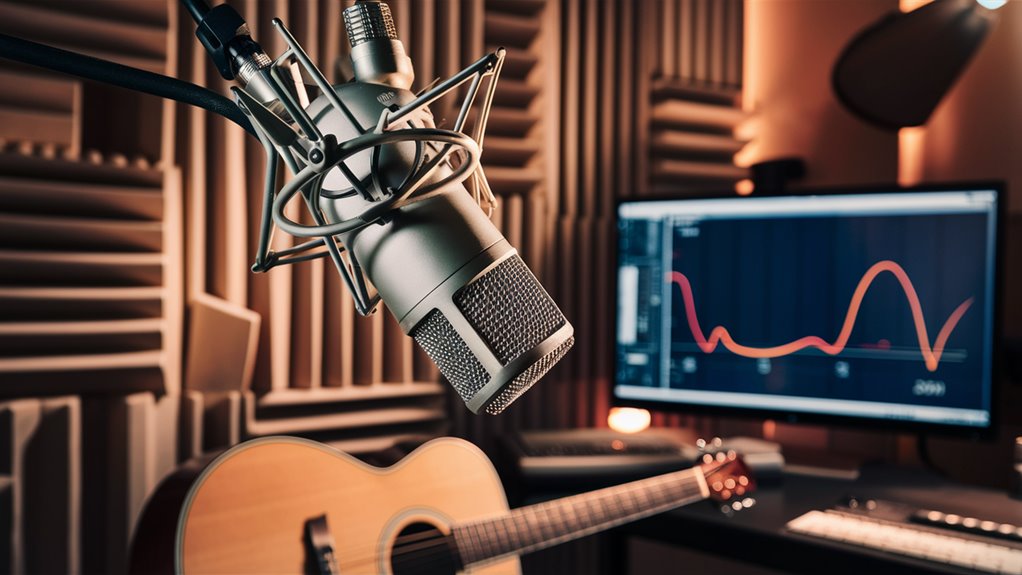
Acoustic Guitar Recording
For acoustic guitar sound, put the main mic 6-12 inches from where the neck meets the body, aimed at the 12th fret.
Make it better by using a two-mic way – place another mic near the bridge to catch more high tones. Check how the sound lines up between mic spots for the best sound match.
Drum Recording Plans
Pro drum sound starts with right kick drum mic place – put it 4-6 inches from the front head, a bit to the side for even tone.
Overhead mic place using ORTF or XY setup should be 3-4 feet above cymbals. Keep equal distances from the snare drum to both overhead mics to keep true stereo picture and sound line-up.
Key Tech Points
- Sound line-up between several mics
- Room sound on captured sound
- Sound-to-noise level maxing
- Sound response needs for each instrument
- Stereo field place and picture
Common EQ Problem Frequencies
Key Guide on EQ Problem Frequencies
Knowing Key Frequency Ranges
Right mic place is the start of good sound, but mastering common EQ problem frequencies lets you shape sound right.
This full guide looks at key frequency ranges and their fixes in pro sound work.
Low-End Frequency Handling
The 20-60Hz frequency range often has unwanted noise and problem low frequencies that hurt mix clearness.
Using a high-pass filter cuts these frequencies well unless dealing with sub-bass parts.
The 200-300Hz range often shows tone build-ups, making unwanted boomy and boxy sounds that need tight narrow-band cutting.
Mid-Range Frequency Control
Key voice frequencies are in the 300-500Hz range, where too much energy makes sound muddy.
The 800Hz-1kHz spectrum can bring unwanted nasal sounds that need tight cutting.
The 2-3kHz range needs care, as too much energy here tires listeners and needs careful handling.
High-End Frequency Fixes
The 4-6kHz area needs exact changes to handle voice sharpness and cymbal sharpness.
In the 8-12kHz range, careful boosts add wanted light and shine, while too much makes sound fake and harsh.
Pro engineers use small 1-2dB changes over big EQ moves for best results.
Smart EQ Ways
Mastering Smart EQ Ways for Pro Sound
Smart Frequency Handling
Smart EQ use starts with sharp, small fixes rather than wide changes.
The base is in cutting EQ ways, focusing on removing problem frequencies before making wanted ones better.
When handling frequency tones, use tight Q settings for sharp cutting of specific frequency bands.
Advanced EQ Ways
Small boost thinking is key to keep sound true, with changes usually 3dB or less.
Use wider Q settings for boosts to keep tone natural.
High-pass filtering under 40Hz cuts unwanted low noise well while keeping key bass parts through careful slope change.
Voice EQ Fine-Tuning
Voice frequency handling needs focus on the 200-400Hz range for mud cutting.
Boost presence in the 3-5kHz area for clear and sharp speech.
These sharp changes make sure pro level voice work while keeping sound natural.
Pro EQ Work Plan
Critical listening tests through A/B testing are key for checking EQ moves.
When seeing needs for big frequency changes (>6dB), think about fixing core issues with mic place or room sound fixes rather than just EQ.
Final Mix Touch-Ups
Top Mix Touch-Up Ways
Multi-System Sound Checks
Pro mix checks need deep testing across many sound setups. Engineers must check their work on studio reference monitors, pro headphones, and normal sound systems to make sure sound is right.
Key focus areas are frequency mix-ups, sound line-up, and stereo field truth that may have been missed during first sound work and processing.
Frequency Checks and Balancing
Spectrum tools help get perfect frequency spread. The goal is to keep energy balanced across the full 20Hz to 20kHz spectrum, with care on the key midrange frequencies (1kHz-5kHz) where keeping instruments apart is key.
Mono sound tests are key for spotting possible sound line-up issues.
Final Check Steps
Mix checks need looking at at different sound levels, focusing on low-volume work where how we hear frequencies changes a lot. Engineers should use exact EQ changes to fix any leftover tone issues or sharpness. Common Misconceptions About Hostess Karaoke Bars
Track room across all parts makes sure even action, while track tests in like music types confirms pro sound standards and right frequency balance fixes.